Wall mounted cloth dryer (part 4)/Séchoir à linge mural (partie 4)
Français plus bas
Hardware and installation
List of tools and materials
Making the outer frame
Making the inner frame
At the top of the outer frame, on the side that will not face the wall, centre the turn button, making sure that it's bottom doesn't go below the edge of the frame (otherwise the inner frame will not be able to close in). Mark the button's centre, make a pilot hole with the 3/32" drill bit and then screw in the turn button without going too tight (you have to easily be able to turn it) but not so loose that it doesn't stay in place.

To install the corner braces at the top of the frame, measure 4" in from the side edge and mark that spot on the side that will face the wall. Place a corner brace just inside that mark, with it's back flush with the frame's back. Trace out the hole in the corner brace that is sitting on the frame. Repeat this step on the other edge and on the bottom side of the frame also. Using your 3/32" bit, drill pilot holes in the frame in the circles you've just traced out. Screw the braces onto the frame using the 5/8" screws. Next, working flat on your work surface, place the inner frame into the outer frame, with the bottoms together and centre the inner frame from the sides (just eyeball it). Take a narrow hinge and place it on the as illustrated below. Trace the holes where the screws are going to be, remove the hinge and make the pilot holes. Repeat on the right side. Then place the hinges back on and screw it in place on the inside frame only for now. Remove the inside frame.
 Now that I'm writing the instructions I'm realizing that I could have taken an easier route to lign up the frame on my wall and that is what I'll write here. Place your outer frame on the wall it will go on and determine how high it will be. Then make a mark on the wall at the top of the frame (at it's centre). Put the frame away and place your level on the wall with it's edge on the mark on the wall. Once you've made it level horizontally, trace a line on the wall along and put the level away. Take the outer frame, lign up it's top edge with the line on the wall, trace out the hole in the top corner braces onto the wall.
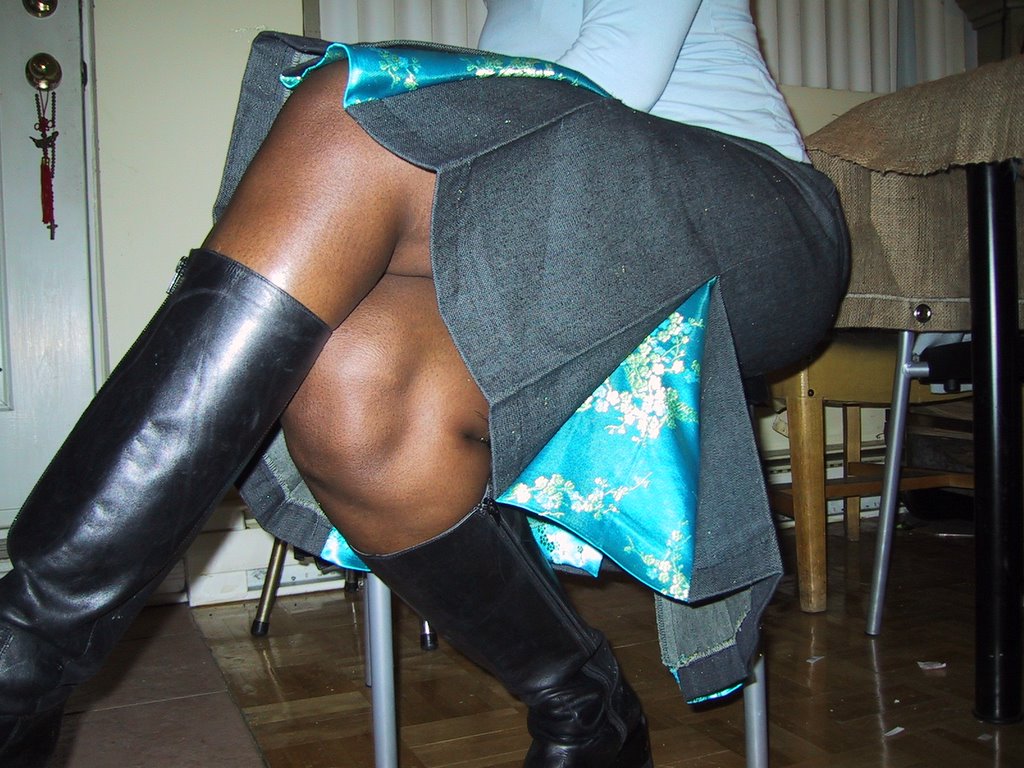
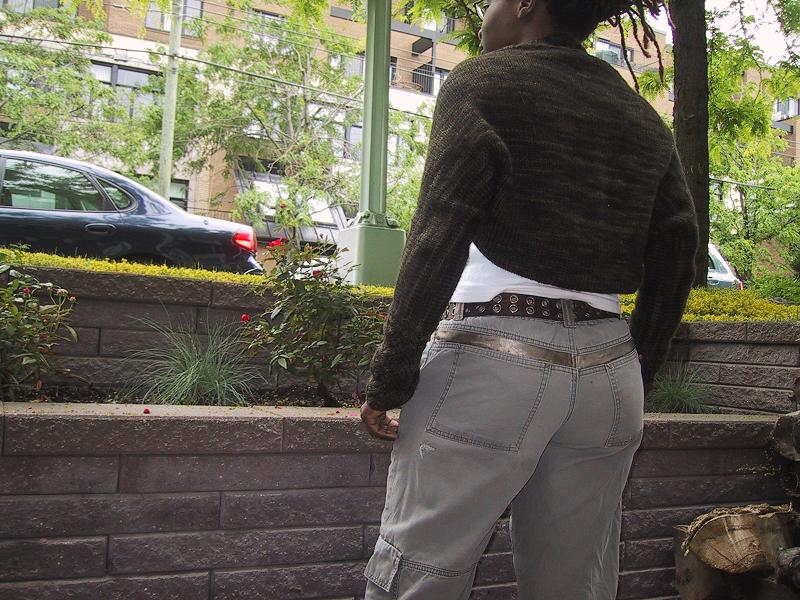
The pic below is the more complicated way I did it. Plus I like how it shows that my diet is working.

Because I put the frame up by myself, I didn't immediately trace the hole for the bottom braces. First I screwed in a wall anchor into each circle I traced out on the wall and then I screwed in the frame (through the braces into the the anchors) but not all the way because it was only temporary. I traced out the holes for the bottom braces and them I removed the frame from the wall, screwed in the bottom wall anchors and then I screwed the frame on the wall in each brace.
Place the inner frame into the outer frame and lock in the inner frame with the turn button to keep it from falling out. Screw the hinges onto the outer frame.

I placed the chain between the third and fourth dowels, marked each frame in it's centre, made the pilot holes and then screwed in through the links using the 5/8" screws.


And that's it, all that is left it to step back and enjoy your handy work.


Quincaillerie et installation
Liste de matériels et d'outils
Fabrication du cadre extérieur
Fabrication du cadre intérieur
Au dessus du cadre extérieur, du côté qui ne fera pas face au mur, centrez le bouton poucier tout en s'assurant qu'il ne dépasse le bas du cadre sinon le cadre intérieur ne pourra s'y emboîter. Faites un X au centre du bouton et à l'aide de la mèche de 3/32" faites un trou guide et vissez y le bouton sans être trop ni trop lâche, il faut qui soit facile de faire tourner le bouton tout en restant en place lorsqu'il n'est pas manipulé.
Pour installer les cornières, mesurez 4" d'un des cotés du cadre, sur le dessus, et placez la cornière en l'alignant avec l'arrière du cadre. Tracez le trou de la cornière sur le cadre, retirez la cornière et faites un trou guide là ou vous avez fait votre cercle. Répétez ceci du coté opposé ainsi qu'au bas du cadre (de chaque côté). Vissez les cornières sur le cadre à l'aide des vis de 5/8".
En travaillant à plat, placez le cadre intérieur dans le cadre extérieur, en collant leur côté bas et en centrez le cadre intérieur sur les côtés (à l'œil). Placez la charnière sur le séchoir tel qu'illustré ci-bas. Tracez les trous où iront les vis. Refaites le même exercice du côté droit. Faites les trous guides. Vissez les charnières uniquement sur le cadre intérieur et mettez le de côté.
En écrivant les instructions, j'ai réalisé que je me suis rendu la vie un peu difficile en plaçant le cadre extérieur sur le mur et donc j'expliquerai une façon plus simple de le faire. Placez le cadre sur le mur où il ira et déterminez-en la hauteur. Au dessus du cadre, faites une trace sur le mur à son centre et mettez le cadre de côté. Alignez et centrez un des côtés de votre niveau sur la marque faite sur le mur, nivellez votre niveau à l'horizontale, tracez une ligne sur le mur le long du niveau. Prenez le cadre extérieur et alignez son dessus avec la ligne tracée au mur. Tracez les trous des cornières sur le mur. Vu que j'ai installé le séchoir toute seule sur le mur, je n'ai pas tout de suite fait les trous des cornières se trouvant au bas.
Mettez le cadre de côté. Vissez un ancrage dans chaque cercle tracé sur le mur. Vissez le cadre, au travers des cornières, dans les ancrages mais pas jusqu'au bout car ce n'est que temporaire pour l'instant. Tracez les trous des cornières du bas du cadre et retirez le mur. Vissez les ancrages du bas. Maintenant vissez le cadre dans les ancrages.
La photo ci-bas montre comment j'ai posé le cadre sur le mur. Je le montre surtout afin de montrer ma diète qui fonctionne...
Placez le cadre intérieur dans le cadre extérieur, fermez le bouton poucier pour l'empêcher d'en ressortir. Vissez les charnières sur le cadre extérieur.
J'ai fait des X sur les cadres en leur centre, entre le 3e et 4e goujon et fait les trous guides. J'ai vissé les chaines au travers de leurs mailles avec les vis de 5/8".
Et voilà. maintenant admirez votre beau travaille.
Hardware and installation
List of tools and materials
Making the outer frame
Making the inner frame
At the top of the outer frame, on the side that will not face the wall, centre the turn button, making sure that it's bottom doesn't go below the edge of the frame (otherwise the inner frame will not be able to close in). Mark the button's centre, make a pilot hole with the 3/32" drill bit and then screw in the turn button without going too tight (you have to easily be able to turn it) but not so loose that it doesn't stay in place.

To install the corner braces at the top of the frame, measure 4" in from the side edge and mark that spot on the side that will face the wall. Place a corner brace just inside that mark, with it's back flush with the frame's back. Trace out the hole in the corner brace that is sitting on the frame. Repeat this step on the other edge and on the bottom side of the frame also. Using your 3/32" bit, drill pilot holes in the frame in the circles you've just traced out. Screw the braces onto the frame using the 5/8" screws.
 Next, working flat on your work surface, place the inner frame into the outer frame, with the bottoms together and centre the inner frame from the sides (just eyeball it). Take a narrow hinge and place it on the as illustrated below. Trace the holes where the screws are going to be, remove the hinge and make the pilot holes. Repeat on the right side. Then place the hinges back on and screw it in place on the inside frame only for now. Remove the inside frame.
 Now that I'm writing the instructions I'm realizing that I could have taken an easier route to lign up the frame on my wall and that is what I'll write here. Place your outer frame on the wall it will go on and determine how high it will be. Then make a mark on the wall at the top of the frame (at it's centre). Put the frame away and place your level on the wall with it's edge on the mark on the wall. Once you've made it level horizontally, trace a line on the wall along and put the level away. Take the outer frame, lign up it's top edge with the line on the wall, trace out the hole in the top corner braces onto the wall.
 The pic below is the more complicated way I did it. Plus I like how it shows that my diet is working.

Because I put the frame up by myself, I didn't immediately trace the hole for the bottom braces. First I screwed in a wall anchor into each circle I traced out on the wall and then I screwed in the frame (through the braces into the the anchors) but not all the way because it was only temporary. I traced out the holes for the bottom braces and them I removed the frame from the wall, screwed in the bottom wall anchors and then I screwed the frame on the wall in each brace.
Place the inner frame into the outer frame and lock in the inner frame with the turn button to keep it from falling out. Screw the hinges onto the outer frame.

I placed the chain between the third and fourth dowels, marked each frame in it's centre, made the pilot holes and then screwed in through the links using the 5/8" screws.


Quincaillerie et installation
Liste de matériels et d'outils
Fabrication du cadre extérieur
Fabrication du cadre intérieur
Au dessus du cadre extérieur, du côté qui ne fera pas face au mur, centrez le bouton poucier tout en s'assurant qu'il ne dépasse le bas du cadre sinon le cadre intérieur ne pourra s'y emboîter. Faites un X au centre du bouton et à l'aide de la mèche de 3/32" faites un trou guide et vissez y le bouton sans être trop ni trop lâche, il faut qui soit facile de faire tourner le bouton tout en restant en place lorsqu'il n'est pas manipulé.
En travaillant à plat, placez le cadre intérieur dans le cadre extérieur, en collant leur côté bas et en centrez le cadre intérieur sur les côtés (à l'œil). Placez la charnière sur le séchoir tel qu'illustré ci-bas. Tracez les trous où iront les vis. Refaites le même exercice du côté droit. Faites les trous guides. Vissez les charnières uniquement sur le cadre intérieur et mettez le de côté.
En écrivant les instructions, j'ai réalisé que je me suis rendu la vie un peu difficile en plaçant le cadre extérieur sur le mur et donc j'expliquerai une façon plus simple de le faire. Placez le cadre sur le mur où il ira et déterminez-en la hauteur. Au dessus du cadre, faites une trace sur le mur à son centre et mettez le cadre de côté. Alignez et centrez un des côtés de votre niveau sur la marque faite sur le mur, nivellez votre niveau à l'horizontale, tracez une ligne sur le mur le long du niveau. Prenez le cadre extérieur et alignez son dessus avec la ligne tracée au mur. Tracez les trous des cornières sur le mur. Vu que j'ai installé le séchoir toute seule sur le mur, je n'ai pas tout de suite fait les trous des cornières se trouvant au bas.
Mettez le cadre de côté. Vissez un ancrage dans chaque cercle tracé sur le mur. Vissez le cadre, au travers des cornières, dans les ancrages mais pas jusqu'au bout car ce n'est que temporaire pour l'instant. Tracez les trous des cornières du bas du cadre et retirez le mur. Vissez les ancrages du bas. Maintenant vissez le cadre dans les ancrages.
La photo ci-bas montre comment j'ai posé le cadre sur le mur. Je le montre surtout afin de montrer ma diète qui fonctionne...
Placez le cadre intérieur dans le cadre extérieur, fermez le bouton poucier pour l'empêcher d'en ressortir. Vissez les charnières sur le cadre extérieur.J'ai fait des X sur les cadres en leur centre, entre le 3e et 4e goujon et fait les trous guides. J'ai vissé les chaines au travers de leurs mailles avec les vis de 5/8".
Labels: FOs, How to, instructions, Objet terminé, sechoir à linge mural, tutorial, wall mounted cloth dryer
posted by Karine at 3:50 PM
4 comments/commentaires